
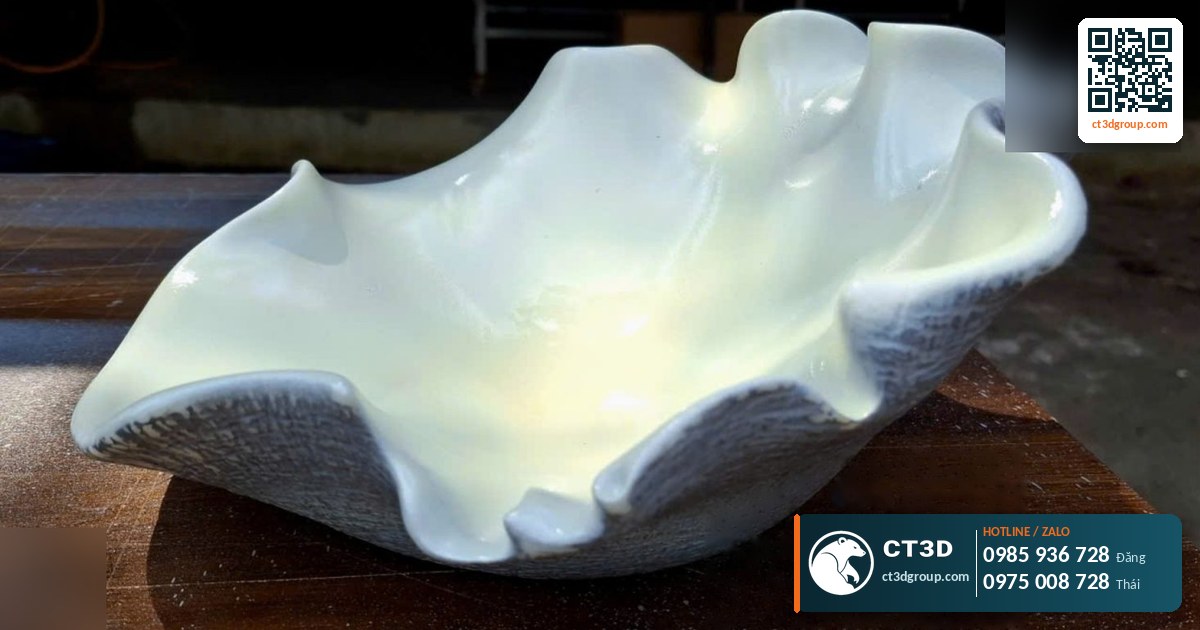
Quick answer: 3D print post-processing covers every step performed after the printer finishes, turning a “raw print” into a usable product: support removal, cleaning, washing and UV curing (for resin), sanding, priming, painting and clear coating, or stress-relief annealing, CNC machining and bead blasting (for metal). Post-processing often accounts for half of how good a part looks. Ho Chi Minh City market rates in 2026: single-color painting runs about 200,000–500,000 VND per part (≈ US$8–19), and painted orders usually take 7–14 days.
Many people receiving their first 3D printed part notice layer lines, support marks and a plain plastic color. That is the part “fresh off the machine.” To turn it into a display model, a presentation prototype or an assembly part, it needs post-processing. This article is a beginner’s overview of 3D print post-processing: what it is, which steps it includes and how it differs by technology. The in-depth material is split into three separate articles: resin print post-processing: washing and UV curing, metal 3D printing post-processing and painting 3D printed models. For our end-to-end service, see custom 3D model printing.
What Is 3D Print Post-Processing?
Think about making a wooden table. After sawing and planing, the carpenter doesn’t deliver it yet. There is still sanding, filling, priming and top-coating to do. 3D printing is the same. The printer only does the “sawing and planing”: it creates the shape. Post-processing is the “sanding and painting”: it makes the product attractive, clean, durable and dimensionally correct.
Why do prints need post-processing? There are three main reasons:
- Layer lines: 3D printing builds up thin layers, so the surface has fine lines. The thicker the layer, the more visible the lines.
- Supports: the structures holding up overhangs must be removed, and they leave marks. See also 3D printing supports explained.
- Material properties: resin must be washed and UV-cured to reach full hardness; metal must be heat-treated to relieve internal stresses.

What Are the Basic Post-Processing Steps?
Not every part needs every step. Still, beginners should know the overall sequence below.
Step 1 – Remove the part and its supports
Take the part off the build plate and remove supports by hand, with pliers or a knife. For metal, supports must be cut off by machine. This is the first step for every technology.
Step 2 – Cleaning
Resin parts are washed in a solvent (usually IPA) to remove leftover liquid resin. MJF/SLS powder parts are blown and blasted to remove excess powder. FDM parts just need burrs and stray strings trimmed.
Step 3 – Curing or heat treatment
Resin needs UV curing to reach its final hardness. SLM metal parts need stress-relief annealing. FDM usually skips this step.
Step 4 – Sanding and filling
Sand from coarse to fine grit to remove layer lines and support marks. Dips can be filled with putty. This is the most labor-intensive step.
Step 5 – Priming, painting and clear coating
Primer reveals any remaining flaws and helps the color coat adhere. The color is then applied with spray cans or an airbrush, followed by a gloss or matte clear coat for protection.
Step 6 – Finish machining and inspection
Re-drilling holes, tapping threads, CNC machining mating faces, assembling multiple parts and checking dimensions. This step is important for engineering parts.
How Does Post-Processing Differ by Printing Technology?
Each technology has its own “pain points,” so finishing methods differ. The table below is only an overview to help beginners picture it.
| Technology | Required steps | Common optional steps | Read more |
|---|---|---|---|
| FDM (filament) | Support removal, deburring | Sanding, priming, painting | Painting 3D printed models |
| Resin SLA/DLP/LCD | Washing, UV curing, support removal | Sanding, painting, clear polishing | Resin print post-processing |
| Powder MJF/SLS PA12 | Depowdering | Bead blasting, dyeing | MJF vs. SLS |
| Metal SLM | Stress-relief annealing, support removal | CNC on mating faces, bead blasting, polishing, plating | Metal 3D printing post-processing |
Source: CT3D workshop finishing procedures by technology.
For resin, the wash and UV cure process determines hardness and color stability. To understand wash and cure times and common defects, see resin print post-processing. For metal, annealing, wire EDM, CNC and bead blasting are explained in metal 3D printing post-processing.
How Much Does Post-Processing Cost and How Long Does It Take?
This is the question beginners ask most. Post-processing cost depends on three factors: surface area, complexity and the desired level of finish.
| Item | Ho Chi Minh City market rate, 2026 |
|---|---|
| Single-color painting | 200,000–500,000 VND/part (≈ US$8–19) |
| Multi-color or gradient airbrush painting | 600,000 – 2,000,000 VND/part (≈ US$23–77) |
| Lead time for painted orders | 7–14 days |
| Lead time for ready files, no painting | 1–3 days |
Source: Ho Chi Minh City market price levels in 2026, not CT3D prices; figures are indicative only. At CT3D, post-processing (sanding, painting, plating) is priced separately per part and quoted from your file.
Tip for beginners: be clear about what the part is for. A fit-check prototype usually only needs support removal. Only an exhibition display piece needs thorough sanding and painting. Choosing the right finish level can save a lot.
Common Finish Levels: Which One Should You Choose?
To make communication easier, CT3D usually groups finishing into the following levels:
- Raw: support removal and cleaning. Suitable for functional prototypes, jigs and internal machine parts.
- Sanded: layer lines and support marks removed from the main faces. Suitable for internal presentation models and appearance checks.
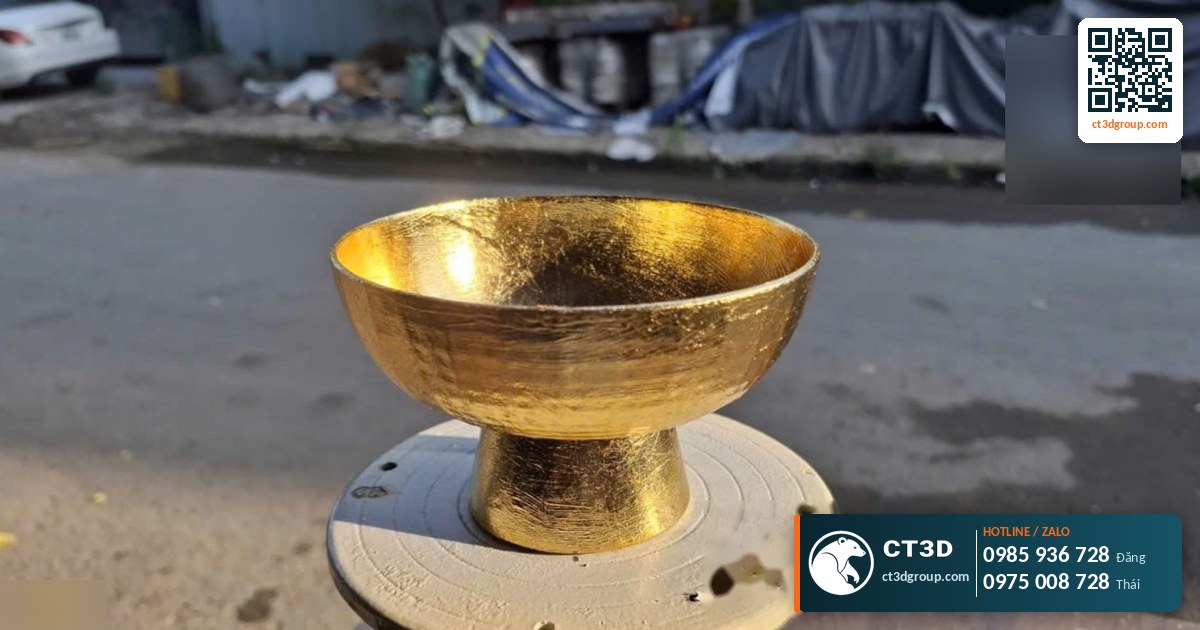
- Single-color paint: sanding, primer, color coat and clear coat. Suitable for product models, trophies and gifts.
- Artistic paint: multi-color airbrushing, faux bronze, faux wood, faux stone and detail painting. Suitable for statues, figures and mascots. For specific techniques, see painting 3D printed models.
- Engineering: CNC on mating faces, thread tapping, plating and dimensional inspection. Suitable for machine parts and metal parts.
Common DIY Post-Processing Mistakes and How to Avoid Them
| Defect | Cause | Prevention |
|---|---|---|
| Resin part is sticky or soft | Not washed thoroughly or under-cured | Wash thoroughly, UV cure for the correct time |
| Resin part cracks after a few days | Over-curing, or a hollow part with resin trapped inside | Control cure time, add resin drain holes |
| Paint peels | No primer, oil or dust on the surface | Clean the surface, prime first |
| Layer lines still visible after painting | Insufficient sanding, filling skipped | Sand from coarse to fine, use primer as a check coat |
| Over-sanding destroys detail | Grit too coarse on small features | Use fine grit and small tools on details |
Source: CT3D finishing workshop experience.
Safety matters too: liquid resin can irritate skin, so wear gloves and work in a well-ventilated area. Sanding dust and paint fumes also call for a suitable mask. If you don’t have your own workshop, outsourcing to a professional shop is safer and more consistent.
Post-Processing at CT3D: Process and Real Applications
CT3D has more than 12 years of experience printing and finishing 3D parts, offering painting of printed parts, silicone mold making, 3D trophy production and metal post-processing (stress-relief annealing, CNC on mating faces, polishing, bead blasting, plating). Published projects such as the restoration of the Our Lady of La Vang statue, a large reclining Buddha statue, a 1 m tall SLA-printed Catholic statue and the Ca Mau shrimp model all required careful finishing after printing.
Our 6-step process: send your file (STL, STEP, OBJ, 3MF via our website, Zalo or email) → state your technical requirements, including finish level and colors → an engineer analyzes the file → quote with lead time → confirmation, production and finishing → delivery to your door or pickup at the workshop.
If you need multiple copies of a finished part, you can make a silicone mold from the master; see what is silicone mold making. Three in-depth articles to read next: resin print post-processing: washing and UV curing, metal 3D printing post-processing and painting 3D printed models. For 3D printing with plating and hand-painting services, also see in3d.edu.vn.
Frequently Asked Questions
Do 3D prints have to be post-processed?
At a minimum, supports must be removed and the part cleaned. For resin, washing and UV curing are mandatory. Sanding and painting are optional, depending on how the part will be used.
Does post-processing affect dimensions?
Sanding and painting can change the surface slightly. For precision mating faces, the engineer leaves extra stock or re-machines them after finishing.
How much does it cost to paint a 3D print?
Ho Chi Minh City market rates in 2026: single-color painting is about 200,000–500,000 VND per part (≈ US$8–19), airbrushing 600,000–2,000,000 VND per part (≈ US$23–77). These are not CT3D prices; CT3D quotes from your file.
How long does a painted print order take?
Usually about 7–14 days, depending on size, number of colors and quantity. Unpainted orders with ready files typically take 1–3 days.
What post-processing do metal 3D printed parts need?
Typically stress-relief annealing, support removal, CNC on mating faces, bead blasting, and polishing or plating, depending on the technical requirements.
Real Footage from the CT3D Workshop
Watch the video Custom SLA 3D printing and painting, produced by CT3D, to get a clearer picture of the process and product quality. More videos are available on the Che Tao Vlog – CT3D channel.
Contact CT3D – Send Your File, Get a Fast Quote
Whether you have a 3D file, a 2D drawing, photos or just an idea, you can send it to CT3D. Our engineers will check the file, advise on technology and material, and send you a quote with a lead time.
- Email: [email protected] – [email protected]
- Hotline / Zalo: +84 975 008 728 (Mr. Thai) – +84 985 936 728 (Mr. Dang), or use our contact form
- Head office: Binh Duong.
- Workshops in Ho Chi Minh City: Linh Trung (Thu Duc), Tam Binh (Thu Duc), District 6 (former).
- Other workshops and drop-off points: Can Tho, Da Nang, Bien Hoa, Ba Ria – Vung Tau, Hanoi, Hai Duong, Hai Phong. Nationwide delivery.
- Website: ct3dgroup.com – in3d.edu.vn
CT3D – 3D design & prototyping: 3D printing, 3D scanning, reverse engineering, silicone mold making, painting and finishing, CNC machining, composite fabrication, and supply of 3D printers and 3D printing resins.
Danh sách cửa hàng:
CT3D là đơn vị cung cấp trọn gói các dịch vụ thiết kế và sản xuất theo yêu cầu tại TP.HCM và khu vực lân cận (Bình Dương, Đồng Nai, Long An…). Với năng lực khép kín từ thiết kế 3D, in 3D (FDM, resin/SLA, SLS, in 3D kim loại), scan 3D – thiết kế ngược, làm khuôn, đúc composite – poly resin – poly stone đến gia công CNC và sơn màu hoàn thiện, CT3D đồng hành cùng khách hàng qua toàn bộ quy trình – từ ý tưởng, bản vẽ hay sản phẩm mẫu đến thành phẩm hoàn chỉnh. Dù bạn cần tạo mẫu nhanh, sản xuất số lượng, chế tác tượng – mô hình – quà tặng hay linh kiện kỹ thuật, đội ngũ CT3D sẽ tư vấn công nghệ và vật liệu phù hợp, đảm bảo sản phẩm sắc nét, đúng yêu cầu và tối ưu chi phí. Khách hàng tại TP.HCM và vùng lân cận có thể trao đổi trực tiếp, gửi file online và nhận sản phẩm thuận tiện, hỗ trợ cả đơn gấp lẫn dự án số lượng.
CT3D cung cấp trọn gói các dịch vụ thiết kế và sản xuất theo yêu cầu, phục vụ khách hàng tại Hà Nội và các tỉnh lân cận (Bắc Ninh, Hưng Yên, Hải Phòng, Vĩnh Phúc…). Với năng lực khép kín từ thiết kế 3D, in 3D (FDM, resin/SLA, SLS, in 3D kim loại), scan 3D – thiết kế ngược, làm khuôn, đúc composite – poly resin – poly stone đến gia công CNC và sơn màu hoàn thiện, CT3D đồng hành cùng khách hàng qua toàn bộ quy trình – từ ý tưởng, bản vẽ hay sản phẩm mẫu đến thành phẩm hoàn chỉnh. Quy trình làm việc thuận tiện: bạn gửi file 3D hoặc mô tả ý tưởng qua online, đội ngũ CT3D tư vấn công nghệ – vật liệu, báo giá nhanh và giao hàng tận nơi tại Hà Nội. Dù bạn cần tạo mẫu nhanh, sản xuất số lượng, chế tác tượng – mô hình – quà tặng hay linh kiện kỹ thuật, CT3D đều đáp ứng với sản phẩm sắc nét, đúng yêu cầu và tối ưu chi phí.

