
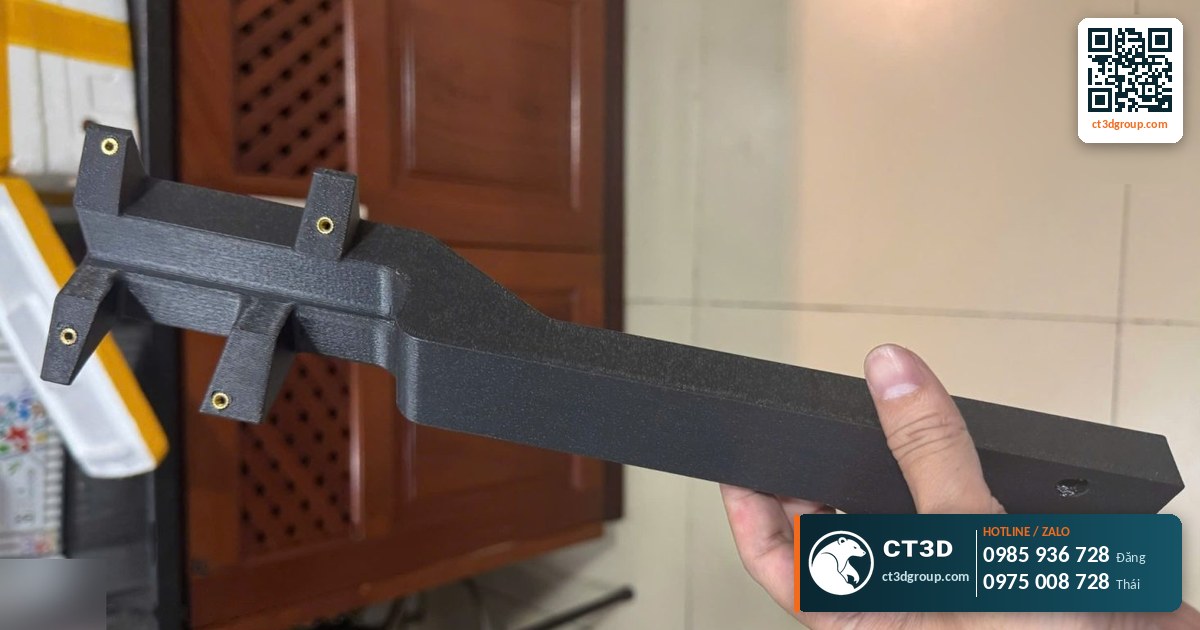
Quick answer: A product display model (appearance prototype) is a sample that looks exactly like the real product in shape, color and surface finish, but does not yet need to function. It is usually printed in SLA resin (25–100 micron layers, tolerance ±0.05–0.1 mm) for the outer housing and clear resin for lenses and lights, then sanded, painted to the exact color code, printed with logos and assembled. Typical lead time is 7–14 days for a painted model; pricing is quoted per file because it depends on the number of parts and the level of finish.
R&D teams, industrial design firms and hardware startups often face the same pressure: a funding pitch, trade show, catalog photo shoot or management design review is coming up, but the injection mold hasn’t been made, and shouldn’t be while the design may still change. They need a sample on the table that viewers will mistake for the real product. This article is a deep dive within our topic on custom 3D model printing, focusing on how to build an appearance prototype: choosing a technology for each part, matching color, material and finish, handling transparent parts, assembly and common pitfalls.
Appearance Prototype vs. Functional Prototype: What Is the Difference?
In product development, “prototype” covers several levels. Knowing which level you need keeps you from paying for things you won’t use.
| Model type | Purpose | Key requirements | Typical technology |
|---|---|---|---|
| Concept model | Check proportions, hold it to feel the size | Fast, cheap, no need to look good | FDM at 0.2 mm layers, single color |
| Appearance model | Presentations, photography, fundraising, trade shows, design approval | Looks like the real product in color, surface and detail | SLA/DLP resin, paint finishing, logo printing |
| Functional prototype | Test fit, mechanisms, durability | Tolerances, material mechanical properties | Tough resin, MJF PA12, engineering FDM, CNC |
| Pre-production sample | Verify before opening mass-production tooling | Materials and process close to the final product | Silicone molds with PU casting, CNC, soft tooling |
Source: common classification in industrial design; technologies based on CT3D’s capabilities.
Many projects combine levels: the outer shell is a beautifully painted appearance model, with real LEDs or a working screen mounted inside for the demo. In that case the engineers need to know in advance so they can leave room for components, cable holes and a removable cover.

Which 3D Printing Technology for Each Part of a Display Model?
A real product model usually consists of many parts with different requirements. CT3D doesn’t print everything with a single technology; we choose based on each part’s role.
| Technology | Layer height | Tolerance | Used for |
|---|---|---|---|
| SLA resin | 25–100 microns | ±0.05–0.1 mm | Outer housings, front panels, buttons, textured parts and fine lettering |
| DLP resin | 25–100 microns | ±0.03–0.08 mm | Small parts, knobs, raised logos, accessories |
| Clear resin | 25–100 microns | ±0.05–0.1 mm | Lamp lenses, display windows, light guides, transparent housings |
| MJF PA12 | — | ±0.05 mm | Internal frames, durable parts, hinges, snap-fits |
| FDM | 100–300 microns | ±0.1–0.3 mm | Support frames, display stands, economical large models |
| Large-format resin | 25–100 microns | ±0.05–0.1 mm | Large one-piece housings up to 800×800×500 mm (appliances, equipment) |
Source: CT3D technology specification sheet, 2026.
The advantage of resin for appearance models is its thin layers: curved surfaces stay smooth, edges stay sharp, and raised lettering matches the CAD exactly. Large one-piece housings avoid visible seams on the main viewing surfaces. For parts that take load during demos (covers opened and closed repeatedly, snap-fits), use Tough resin or MJF PA12 – see our MJP and PA12 industrial 3D printing service.
CMF: How Do You Make a Model Match the Real Color, Material and Finish?
CMF stands for Color – Material – Finish: the color, the feel of the material and the surface finish. This is what decides whether a model looks “real” or “fake.”
Color: match to a color code
Provide a standard color code (Pantone, RAL or a physical color sample). Colors on a computer screen often differ from real paint, so a physical sample is always more reliable. Our painters mix the paint, spray a test panel and compare it under neutral light before painting the part.
Gloss level: mirror gloss, semi-gloss, matte, textured
The same color at different gloss levels gives a completely different feel. Real injection-molded plastic usually has a textured or high-gloss surface. A painted 3D printed model can simulate this: gloss clear coat for mirror finishes, matte clear for smooth matte surfaces, and textured paint for grained surfaces. For detailed techniques, see painting 3D printed models.
Metallic effects
Metal trims, chrome logos and aluminum knobs can be made with metallic paint or plating. If the part needs to feel like real metal in the hand, consider CNC machining it from aluminum. Both approaches are compared in CNC machining vs. 3D printing.
Logos, lettering and icons on the surface
Raised or engraved logos are built directly into the print file. Flat logos, button icons and scale markings are usually applied with water-slide decals, screen printing or painting through pre-cut masks, which gives sharper lines than hand painting.
How Are Transparent and Light-Guide Parts Handled?
Lamp lenses, display windows and clear housings are the hardest part of an appearance model. Clear resin straight off the printer is still slightly hazy because layer lines and support marks scatter light. To make it glass-clear, the part has to be wet-sanded through many grades of very fine paper, polished and finished with a clear gloss coat. The process and applications are covered in detail in clear resin 3D printing.
Based on 2026 market rates in Ho Chi Minh City, clear resin carries a +40–70% surcharge over standard resin; a clear model of about 10 cm costs around 1.2–2.5 million VND (≈ US$46–96) (market rates, not CT3D’s prices). For even light distribution, design light-guide parts with uniform thickness and keep supports off the visible faces.
Assembling an Appearance Model: Tolerances, Gaps and Parting Lines
Real products have very even gaps between parts. A 3D printed model has to achieve the same to look real. Three points to watch:
- Allow for paint thickness: every coat of primer and paint adds thickness. If the CAD has a perfectly tight fit, the parts won’t go together after painting. Engineers usually mask mating surfaces during painting or open up the clearance in the file.
- Even visible gaps: the split lines between cover and body should be checked during a test assembly before painting, then sanded and adjusted until the gaps are even.
- Secure but removable: a trade-show model will be handled a lot. Use magnets, hidden screws or snap-fits rather than glue alone, so it can be repaired if damaged.
Fit tolerances in 3D printing are covered in 3D printing accuracy and tolerances.
Common Display Model Problems and How to Fix Them
| Problem | Cause | Fix |
|---|---|---|
| Color doesn’t match the real product | Only an on-screen color code; different lighting when comparing | Provide a physical color sample, compare under neutral light, approve a test panel |
| Layer lines visible under gloss paint | Insufficient sanding and priming | Print main visible faces in resin, use filler primer, sand smooth before the gloss coat |
| Parts won’t fit after painting | Paint thickness not accounted for | Mask mating surfaces, open up clearances in the file, test-fit before painting |
| Large housing warps | Thin walls, wide flat surfaces, stresses during printing and curing | Add stiffening ribs on the inside, choose a suitable orientation, print in one piece on a large-format resin printer |
| Clear parts look hazy or yellow | Insufficient polishing, over-curing under UV | Multi-stage polishing, clear gloss coat, control curing time |
| Support marks on visible faces | Poor print orientation | Rotate the model so supports are on hidden faces; tilt the part 20–45° for resin printing |
Source: CT3D model-making experience; the 20–45° tilt angle comes from CT3D’s internal resin printing guidelines.
Lead Time and Cost of a Product Display Model
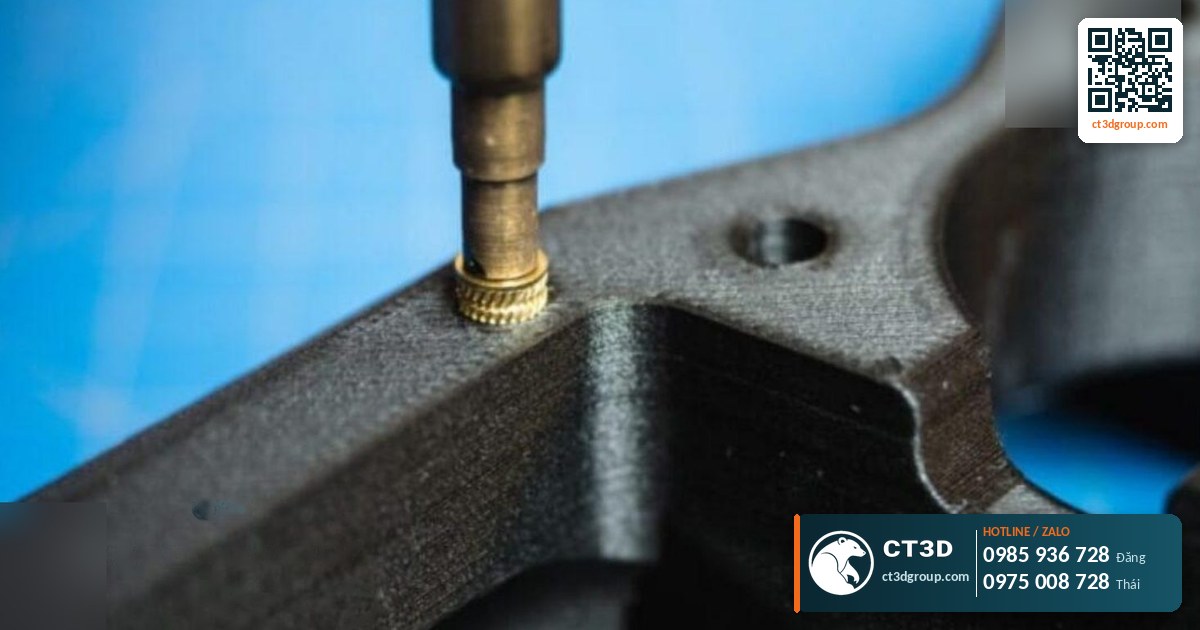
The cost of an appearance model includes: building or fixing the file (if you don’t have a printable file yet), printing each part with its chosen technology, finishing (sanding, priming, painting, logo printing, polishing clear parts) and assembly labor. For reference, 2026 market rates in Ho Chi Minh City (not CT3D’s prices): standard resin at 10–15 cm costs about 800,000 – 2.5 million VND (≈ US$31–96), 15–20 cm about 1.5–3.5 million VND (≈ US$58–135); airbrush painting 600,000 – 2 million VND (≈ US$23–77) per model; 3D modeling from about 200,000 VND (≈ US$8) for a simple part. Multi-part, multi-color models add these items together, which is why CT3D quotes per file. All prices are indicative.
Lead time: 1–3 days for a print-ready file without painting; 7–14 days with paint finishing. Rush orders typically cost +30% (3–4 days) to +50% (1–2 days) at market rates. For trade-show models, order early so there is time for one round of color approval and test assembly.
When you need a few dozen models for distributors or user research, you can print one master and then make a silicone mold from the 3D print to cast PU copies.
CT3D’s Display Model Process
- Send your file and requirements: STEP, STL, OBJ or 3MF via our website, Zalo or email, together with your CMF sheet, renders and required date. If you only have a physical product to recreate, CT3D offers 3D scanning and reverse engineering.
- Engineering review: split the parts, choose a technology for each, check wall thickness, fit clearances and print orientation.
- Quote with lead time.
- Print and rough test assembly: check gaps and fit before painting.
- Finishing: sanding, priming, painting to the exact color code, logo printing, polishing clear parts.
- Assembly, inspection, scratch-proof packaging and delivery: nationwide within 1–3 days after completion, with air shipping available for urgent orders.
On confidentiality: files for unreleased products are sensitive assets. You can ask us to sign a non-disclosure agreement before sending your files.
Checklist: What to Send for an Appearance Prototype
- 3D file in STEP format (preferred) or high-resolution STL.
- CMF sheet: color codes, gloss levels, which parts are transparent and which are metallic.
- Vector logo files and print positions.
- Whether the model needs to open, have removable covers, or house real lights or components.
- Purpose: photography, trade show, fundraising, internal review.
- Quantity and required delivery date.
Real-World Uses of Product Display Models
Appearance models are used for advertising photos and videos before the product exists, trade-show displays, investor presentations, customer design approval, user research and distributor samples. The CT3D website shows the logos of some of our corporate partners and technical universities. With more than 12 years of model making, CT3D combines multi-technology 3D printing, paint finishing, CNC and silicone molding under one roof. For an overview of other model types, see our pillar article on custom 3D model printing.
Frequently Asked Questions
Can a product display model actually work?
An appearance model focuses on looks. However, we can leave space for LEDs, a screen or real components if you tell us before the design stage.
Should an appearance model be printed in FDM or resin?
The main visible faces should be printed in SLA/DLP resin, as 25–100 micron layers give a smooth surface. FDM suits internal frames, stands or concept models that need to be cheap and fast.
How long does a display model take?
A painted model usually takes 7–14 days. An unpainted model from a ready file takes 1–3 days. Rush orders carry a surcharge of +30–50% at market rates.
Can you make glass-clear parts?
Yes, using clear resin combined with wet sanding, polishing and a gloss clear coat. Clear resin carries a market surcharge of about +40–70% over standard resin.
Will the paint match the real product color?
It matches well when you provide a physical color sample or a standard color code. CT3D sprays a test panel for your approval before painting the model.
Real Footage from the CT3D Workshop
Watch Ultra-smooth surface prototypes on an SLA 3D printer in Ho Chi Minh City, filmed by CT3D, to get a clearer picture of the process and the finished quality. More videos are on our YouTube channel Chế Tạo Vlog – CT3D.
Contact CT3D – Send Your File, Get a Fast Quote
Whether you have a 3D file, a 2D drawing, photos or just an idea, you can send it to CT3D. Our engineers will check the file, recommend the right technology and material, and send you a quote with a lead time.
- Email: [email protected] – [email protected]
- Hotline / Zalo: +84 975 008 728 (Mr. Thai) – +84 985 936 728 (Mr. Dang), or use our contact form
- Head office: Binh Duong.
- Workshops in Ho Chi Minh City: Linh Trung (Thu Duc), Tam Binh (Thu Duc), District 6 (former).
- Other workshops and drop-off points: Can Tho, Da Nang, Bien Hoa, Ba Ria – Vung Tau, Hanoi, Hai Duong, Hai Phong. Nationwide delivery across Vietnam.
- Website: ct3dgroup.com – in3d.edu.vn
CT3D – 3D design & prototyping: 3D printing, 3D scanning, reverse engineering, silicone mold making, painting and finishing, CNC machining, composite fabrication, plus 3D printers and 3D printing materials.
Danh sách cửa hàng:
CT3D là đơn vị cung cấp trọn gói các dịch vụ thiết kế và sản xuất theo yêu cầu tại TP.HCM và khu vực lân cận (Bình Dương, Đồng Nai, Long An…). Với năng lực khép kín từ thiết kế 3D, in 3D (FDM, resin/SLA, SLS, in 3D kim loại), scan 3D – thiết kế ngược, làm khuôn, đúc composite – poly resin – poly stone đến gia công CNC và sơn màu hoàn thiện, CT3D đồng hành cùng khách hàng qua toàn bộ quy trình – từ ý tưởng, bản vẽ hay sản phẩm mẫu đến thành phẩm hoàn chỉnh. Dù bạn cần tạo mẫu nhanh, sản xuất số lượng, chế tác tượng – mô hình – quà tặng hay linh kiện kỹ thuật, đội ngũ CT3D sẽ tư vấn công nghệ và vật liệu phù hợp, đảm bảo sản phẩm sắc nét, đúng yêu cầu và tối ưu chi phí. Khách hàng tại TP.HCM và vùng lân cận có thể trao đổi trực tiếp, gửi file online và nhận sản phẩm thuận tiện, hỗ trợ cả đơn gấp lẫn dự án số lượng.
CT3D cung cấp trọn gói các dịch vụ thiết kế và sản xuất theo yêu cầu, phục vụ khách hàng tại Hà Nội và các tỉnh lân cận (Bắc Ninh, Hưng Yên, Hải Phòng, Vĩnh Phúc…). Với năng lực khép kín từ thiết kế 3D, in 3D (FDM, resin/SLA, SLS, in 3D kim loại), scan 3D – thiết kế ngược, làm khuôn, đúc composite – poly resin – poly stone đến gia công CNC và sơn màu hoàn thiện, CT3D đồng hành cùng khách hàng qua toàn bộ quy trình – từ ý tưởng, bản vẽ hay sản phẩm mẫu đến thành phẩm hoàn chỉnh. Quy trình làm việc thuận tiện: bạn gửi file 3D hoặc mô tả ý tưởng qua online, đội ngũ CT3D tư vấn công nghệ – vật liệu, báo giá nhanh và giao hàng tận nơi tại Hà Nội. Dù bạn cần tạo mẫu nhanh, sản xuất số lượng, chế tác tượng – mô hình – quà tặng hay linh kiện kỹ thuật, CT3D đều đáp ứng với sản phẩm sắc nét, đúng yêu cầu và tối ưu chi phí.

